
In this part we show how to automatically resolve all WinAPI calls in malicious code dump of LockPoS Point-of-Sale malware.
Instead of manually reconstructing a corrupted Import Address Table we simply extract a target portion of code in the research database with all the calls present in it.
We also demonstrate how to automatically propagate information from a research database back to a debugger so that already researched malicious code from LockPoS payload is seen dynamically.
If you’re new to all the Labeless stuff, please refer to the previous articles in this series as they will be helpful in explaining what’s going on here.
Contents of this lesson:
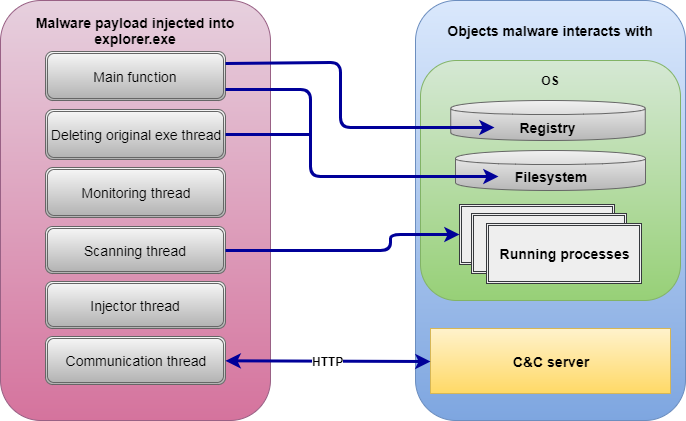
LockPoS is a malware designed to extract credit card data from Point Of Sale (POS) devices.
This malware is quite simple in its nature with the following functionality present in it (version 1.0.0.4):
The main trick is to unpack the sample and get to its payload which is seen in the picture above. Among the tricks used in the packer are:
- Calling certain functions via `int 0x2E` instruction so that hooks appear to be completely useless; more info is provided here:
- The possibility to execute x64 code in x86 process context if it is run in x64 OS thus failing a debugger – except WinDbg; more info is provided here:
- Corrupted Import Address Table, dump restoration in this case is hardened.
We are going to demonstrate how to deal with the third trick which is not yet described in other public sources.
1. Dumping Process Memory to IDA
As stated above, we’ve discovered that the sample is packed, went to the moment of jumping to Original Entry Point (OEP) and are ready to dump. However it is not a victory yet as in general case the IAT needs to be fixed. Now we get this in ImpRec:
And this in Scylla:
It is clear that some deeper digging into process internals is required. Depending on our experience (and the researcher’s experience in general), it may take some time to rebuild IAT and get a working dump.
But do we really want to obtain a working dump? Or is our aim to research a dropped payload, no matter how? If the latter is the case then Labeless makes the process of dumping much easier than a semi-manual-ImpRec/Scylla approach. In this case, no physical dump will be available, as an executable or library, but its code will be fully present in IDB.
When we want to use Labeless for dumping, we first have to decide if we prefer to:
- Store a one-for-all database with original code and dumped memory or
- Keep databases of dumps separated from original code?
If an all-in-one variant is chosen the next section may be skipped entirely. However, if we choose to store dumps separately we have to keep them somewhere where there are no original executables available to build the database from.
This means that a copy of the existing database should be used merely as a container for a newly created dump. Another option is also available: creating an empty database – stub – with the help of the built-in Labeless option. This is discussed below.
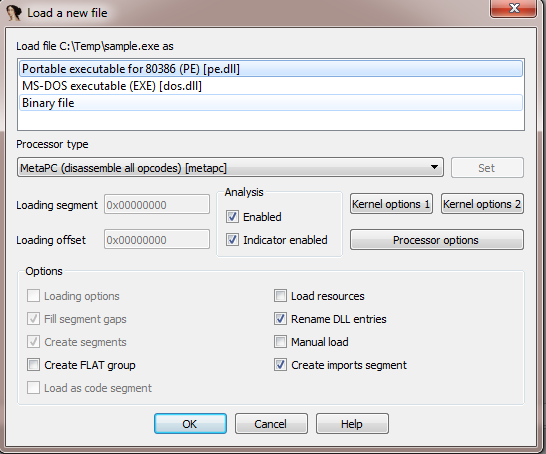
When no database is opened in IDA, Labeless has the possibility to create a stub database which serves as a container for dumped memory. This option is available in the menu:

The confirmation is shown and after choosing `Yes` we may proceed further. The next dialog proposes to choose the folder and the name of the database to be created. After selecting the folder and the name we encounter the same dialog which is shown after opening the executable:
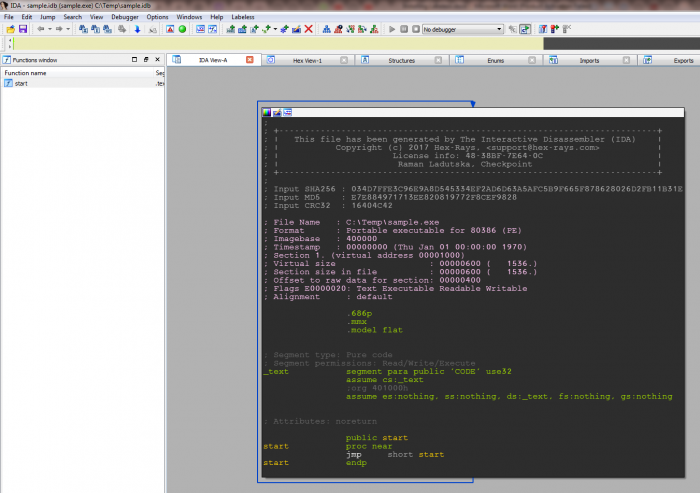
IDA will disappear from the screen for a moment and will show again with the new empty database created:
This is the perfect place to be rewritten with the dump.
After the connection with debugger is established (check this section for details) we can go to the following menu entry:
There are two options under `IDADump` menu entry:
- Wipe all and import…
- Keep existing and import…
The first erases the whole database and imports selected memory regions. The second keeps the existing database and adds imported memory regions to it.
We choose the first option (as shown on the screenshot) as it keeps different modules in separate databases and doesn’t clutter one main IDB with many functions/names/comments… If you want to build a one-for-all IDB with references between different modules on different stages of code execution – stick to the second option.
After choosing an outlined menu entry the following (resizable) window will appear:

The whole process memory is present here. We may dump either memory regions `as is` or select manual mode and input numbers by ourselves.
Useful key combos: `Shift`+click adds contiguous memory regions to selection, `Ctrl`+click adds current region to selection.
The next question is what exactly to dump. It’s ok to dump the same regions as we would dump, should we want to manually reconstruct IAT. Labeless will take care of everything else, reconstructing WinAPI calls as the most vivid example.
We select one region in the following example:
After memory regions (or only one of them) are selected, the following window appears:
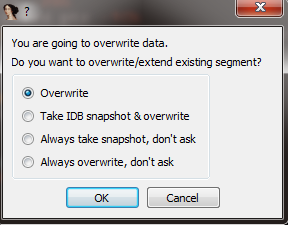
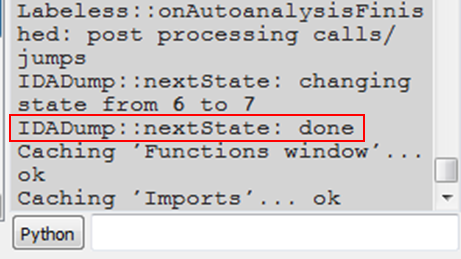
Labeless then warns us of attempts to rewrite IDB, but, as that’s exactly what we want, we choose `Overwrite` and proceed. Some time is then required for the process to be done, but once the job is finished the output window shows the magical `IDADump::nextState: done` string:
 And an import window is opened with WinAPI calls resolved:
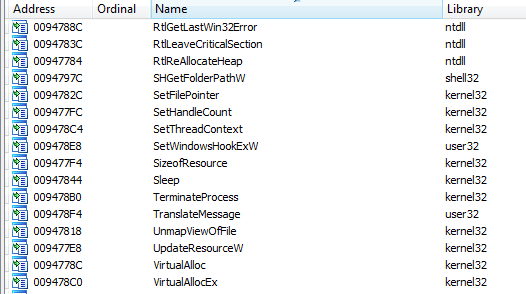
This is quite the opposite of what we have seen in ImpRec and Scylla.
Sometimes there will be messages stating that something that looks like a function address was encountered in memory: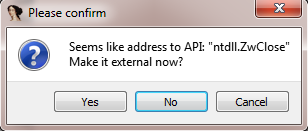
`Making external` in this case means resolving this memory as a function address –exactly what we want. Now dumped memory may be explored as though it was opened from executable.
2. Propagating IDA Database Info to Debugger
Researching a database in IDA is not the fastest way to explore malicious code. Often it’s useful to refer to dynamic analysis (in debugger) and it’s even better when disassembly listing is filled with symbols’ information.
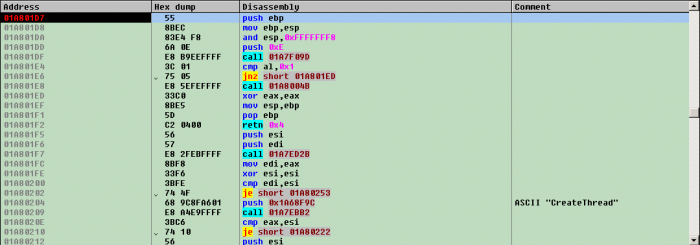
It works by simply filling debugger listing with names and comments. Consider this nameless listing in Olly 1.10:
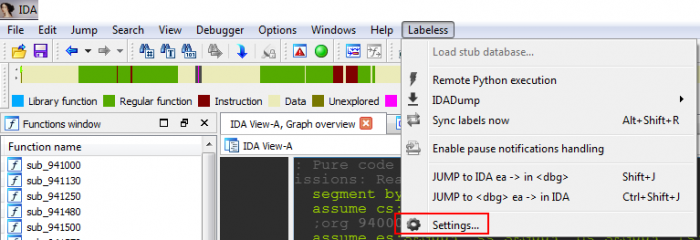
Not much is obvious from this one. Let’s go to Labeless settings (Alt+Shift+E) in IDA and test a plugin’s possibilities:
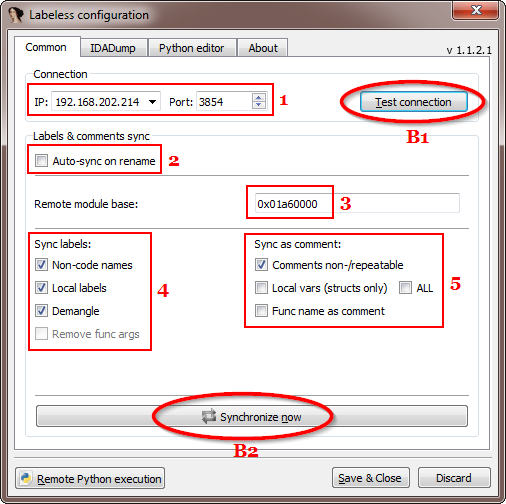
The following window appears (we’ve seen part of it in `Connecting IDA to debugger` section):
A description of each outlined element is as follows:
- 1 – IP:port of Labeless instance in debugger.
- 2 – flag to toggle on/off automatic names’ synchronization on any rename inside IDB.
- 3 – image base of target module (where symbols have to be applied) in the process memory.
- 4 – what has to be propagated to debugger in a form of labels.
- 5 – what has to be propagated to debugger in a form of comments.
The buttons actions are described below:
- B1 – test connection between IDA and debugger.
- B2 – propagate symbols to debugger.
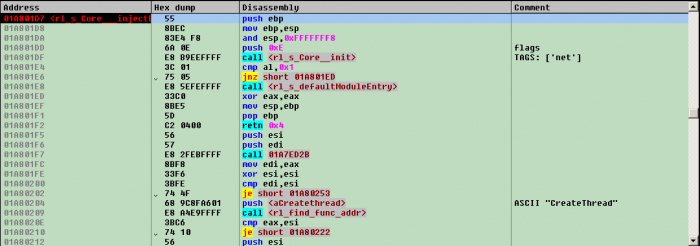
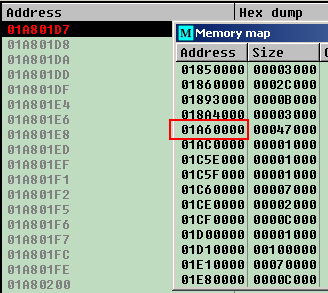 Then press the `Synchronize now` button and check debugger listing after all the names are applied:
Researched functions are now named appropriately; functions not yet researched are left as is; comments are added – if any. Navigating the listing now becomes easier.
As a side-note, the full number of synced labels and comments may be seen in IDA:
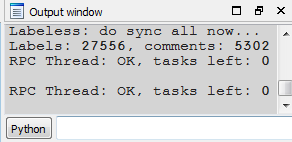
If `Auto-sync on rename` flag is checked then the process of propagating info to debugger doesn’t require any user interaction at all. Should you rename something IDA will show the change:
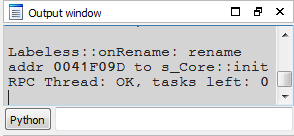 and immediately propagates the change to the debugger:
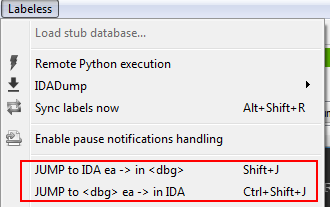
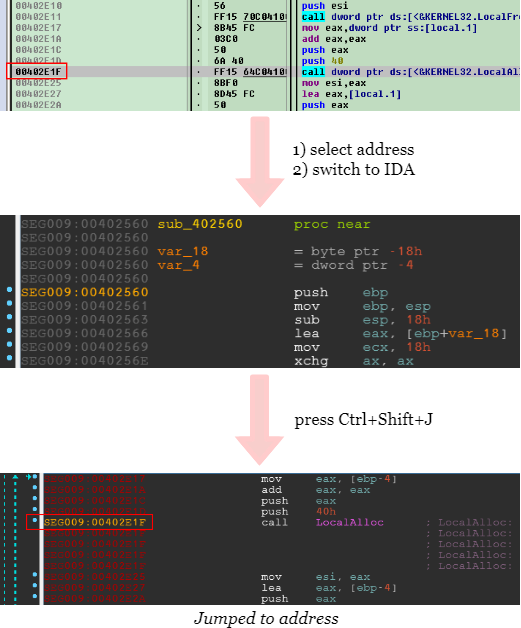
How many times do we copy address in IDA and press `Ctrl+G` in debugger just to jump to selected address? Too many actions are taken for a task that simple. Labeless offers shortcuts to ease this process.
`Shift+J` jumps in debugger to currently selected address from IDA:
`Ctrl+Shift+J` does the opposite: jumps in IDA to current active address from debugger:
As a side-note, LazyIDA plugin copies current address to clipboard in just one button click. OllyTiper plugin does the same for OllyDbg 1.10 and there is a shortcut `Alt+Ins` in x64dbg.
In this part we’ve shown:
- How memory dumping feature is used.
- How the propagating of names and comments from IDA to debugger works.
In the next part we will show how to use Labeless for semi-automatic strings decryption in Boleto banking malware, without reconstructing the decryption algorithm.
Stay tuned and have fun!
MD5: 0ad35a566cfb60959576835ede75983b
SHA1: 2faa933c98cd21515b236d139476a6d09a3d624d
Links
Labeless github repository:
https://github.com/a1ext/labeless
Latest release version:
https://github.com/a1ext/labeless/releases/latest
All credits go to Alexander Trafimchuk (a1ex.t), author of Labeless and an all-round jolly good fellow.
